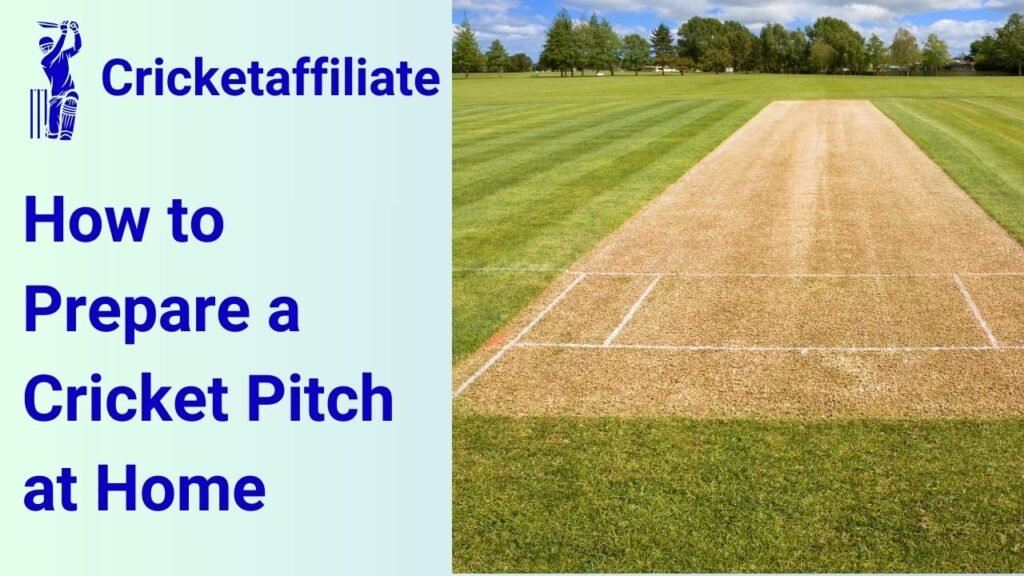
Cricket is not just a sport; for many, it’s a passion and a way of life. Whether you’re an aspiring cricketer or a hobbyist, having a cricket pitch at home can revolutionize the way you practice and play. Creating a personal cricket pitch may sound like a challenging task, but with the right tools, techniques, and guidance, you can prepare a professional-standard pitch right in your backyard. This article will walk you through how to prepare a cricket pitch at home, covering every step from selecting the right location to maintaining the pitch for long-term use.
Why Build a Cricket Pitch at Home?
Having a cricket pitch at home brings several benefits:
- Convenience: No need to commute to a stadium or practice ground.
- Consistency: Train at your own pace and schedule.
- Improved Skills: Regular practice on a personal pitch can significantly improve your technique and confidence.
- Cost-Effective: Save on recurring costs associated with renting practice facilities.
- Fun for the Family: Encourage family and friends to engage in healthy, recreational activities.
By learning how to prepare a cricket pitch at home, you take control of your training environment and unlock countless opportunities to elevate your game.
Materials You Need to Prepare a Cricket Pitch
Before diving into the steps, gather the following materials and tools:
- Grass seeds (if you’re creating a natural pitch)
- Roller (hand roller or motorized, depending on your budget)
- Clay soil or loamy soil
- Mower for grass trimming
- Cricket mat (optional for synthetic pitches)
- Marking tools (paint, chalk, or cones)
- Water supply (hose or sprinkler system)
Having the right equipment is essential to ensure the cricket pitch is durable and playable.
Step 1: Choosing the Right Location
The first step in how to prepare a cricket pitch at home is selecting the best spot in your backyard or open space. Consider the following factors:
- Flat Surface: A flat area ensures the pitch is level and safe for play.
- Adequate Space: A standard pitch is 22 yards (20.12 meters) long and 3 meters wide. Ensure the space can accommodate these dimensions.
- Sunlight Exposure: Choose a location with plenty of sunlight to support grass growth.
- Drainage: Ensure the area drains water effectively to prevent waterlogging.
Mark the selected area clearly to avoid mistakes in the later stages.
Step 2: Clearing and Leveling the Ground
Once the location is finalized, clear the area of debris, rocks, and uneven surfaces. Follow these steps:
- Remove Vegetation: Use a shovel or garden tools to eliminate grass and weeds.
- Flatten the Ground: Employ a level to check for unevenness. Fill low areas with soil and tamp it down.
- Use a Roller: A heavy roller helps to compact the ground, creating a solid base.
This foundational step is critical in ensuring the cricket pitch is safe, durable, and professional-grade.
Step 3: Choosing the Type of Pitch
Decide whether you want a natural turf pitch or a synthetic pitch. Each has its pros and cons:
Natural Turf Pitch
- Requires regular maintenance (mowing, watering, and rolling).
- Provides a professional feel with variable bounce and turn.
- Suitable for those who want to simulate match-like conditions.
Synthetic Pitch
- Low maintenance, as it doesn’t require grass trimming or watering.
- Durable and can be used in any weather.
- Ideal for beginners or those with limited time for upkeep.
Your choice will depend on your budget, time commitment, and training needs.
Step 4: Laying and Preparing the Surface
For a natural turf pitch, follow these steps:
- Plant Grass Seeds: Choose Bermuda or Ryegrass for better durability and performance. Spread seeds evenly across the pitch.
- Watering: Keep the area moist but avoid overwatering. Use sprinklers for even distribution.
- Rolling: Once the grass begins to grow, use a roller daily to harden the surface and ensure even bounce.
For a synthetic pitch, you can skip the grass planting and focus on:
- Laying the Cricket Mat: Ensure the mat is tightly secured to avoid uneven surfaces during play.
- Fastening Edges: Use pegs or adhesive to hold the mat in place.
- Marking the Crease: Paint or chalk the lines for bowling and batting creases.
Step 5: Regular Maintenance
Maintenance is the key to keeping your cricket pitch at home in prime condition. Here’s what you need to do:
- Mow the Grass: Trim the grass regularly to maintain a smooth, even surface.
- Water the Pitch: Ensure the grass is hydrated, especially during dry spells.
- Roll Daily: Consistent rolling compacts the surface, reducing uneven bounce.
- Repair Damage: Fill cracks and patch any worn-out areas promptly.
A well-maintained pitch will enhance your training sessions and minimize injuries.
Tips for Enhancing Your Cricket Pitch
- Use boundary markers or fencing around the pitch for safety and better visibility.
- Install a net to prevent balls from going out of bounds.
- Add lighting if you plan to practice during evenings.
- Use lightweight rollers for frequent rolling and heavy rollers occasionally for deeper compaction.
Table: Natural Turf vs. Synthetic Cricket Pitches
| Feature | Natural Turf Pitch | Synthetic Pitch |
|---|---|---|
| Maintenance | High | Low |
| Durability | Medium | High |
| Weather Resistance | Affected by rain | All-weather playable |
| Cost | Higher initial cost | Lower long-term cost |
| Professional Feel | Authentic | Slightly artificial |
Safety Tips While Playing on a Home Cricket Pitch
- Always inspect the pitch for debris or hazards before starting.
- Wear proper protective gear, including helmets and pads.
- Avoid overwatering to prevent slippery surfaces.
- Ensure nets are secure to avoid accidents.
FAQs
1. Can I prepare a cricket pitch without a roller?
Yes, but using a roller is highly recommended to compact the ground and create a level surface. You can use a heavy plank or board as an alternative.
2. How much space do I need for a home cricket pitch?
A standard cricket pitch is 22 yards (20.12 meters) long and 3 meters wide. Adjust the dimensions based on your available space.
3. How often should I roll a natural turf pitch?
Roll the pitch daily during the preparation phase and once every few days for maintenance.
4. What type of grass is best for a cricket pitch?
Bermuda grass or Ryegrass is ideal due to their durability and ability to withstand wear and tear.
5. Can I use artificial turf for a home cricket pitch?
Yes, artificial turf is a low-maintenance and durable option for home pitches.
6. How do I ensure the pitch has consistent bounce?
Regular rolling and maintaining a flat, compact surface are essential for consistent bounce.
7. Is it expensive to build a cricket pitch at home?
The cost varies depending on whether you choose a natural turf or synthetic pitch. Synthetic pitches are usually more affordable in the long run.
8. Do I need permission to create a cricket pitch at home?
In most cases, no formal permission is needed, but check with local regulations if you’re altering your property significantly.
Conclusion
Creating your own cricket pitch at home is a rewarding investment in your love for the game. By following this comprehensive guide, you’ll learn how to prepare a cricket pitch at home that’s both functional and enjoyable. Whether you’re practicing batting, bowling, or fielding, a well-prepared pitch will make your training sessions more productive and fun. Start today and bring the spirit of cricket into your backyard!


